
Learn Boutis: Cording
(Le Bourrage)
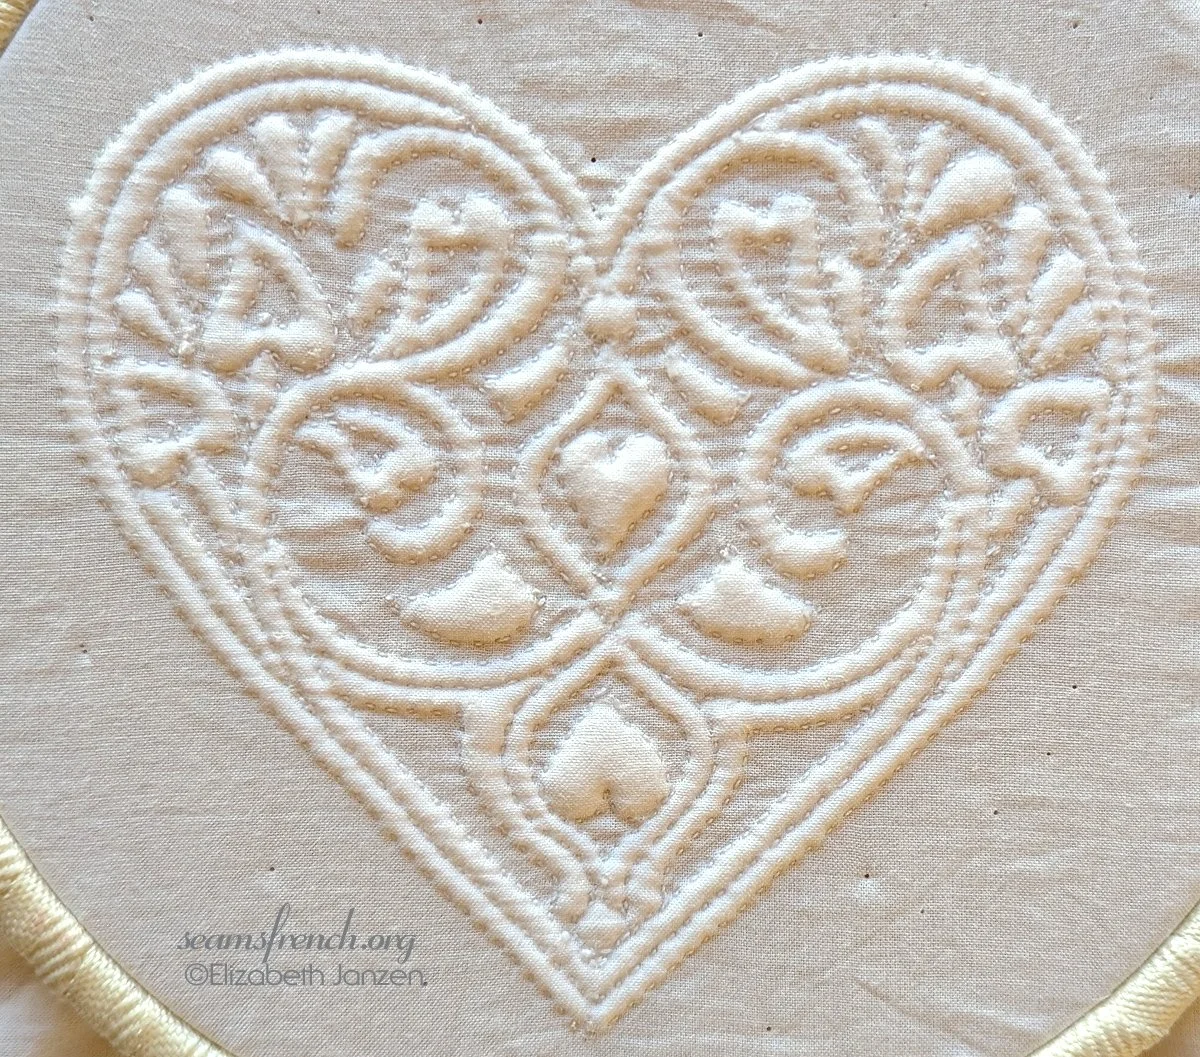
General Info:
*Cording takes place only when ALL of the stitching is done. Cording is always done from the underside of the boutis, the side without the printed pattern. Each channel and shape are individually corded using a doubled strand of cotton yarn. Cording is done starting from the central motif and working outwards.
*If available, use a larger hoop for the cording to accommodate the longer lines. Occasionally, remove the boutis from the hoop and gently smooth it out to even out any unbalanced areas and release the tension. Hold it up to the light to make sure there are no gaps in the channel.
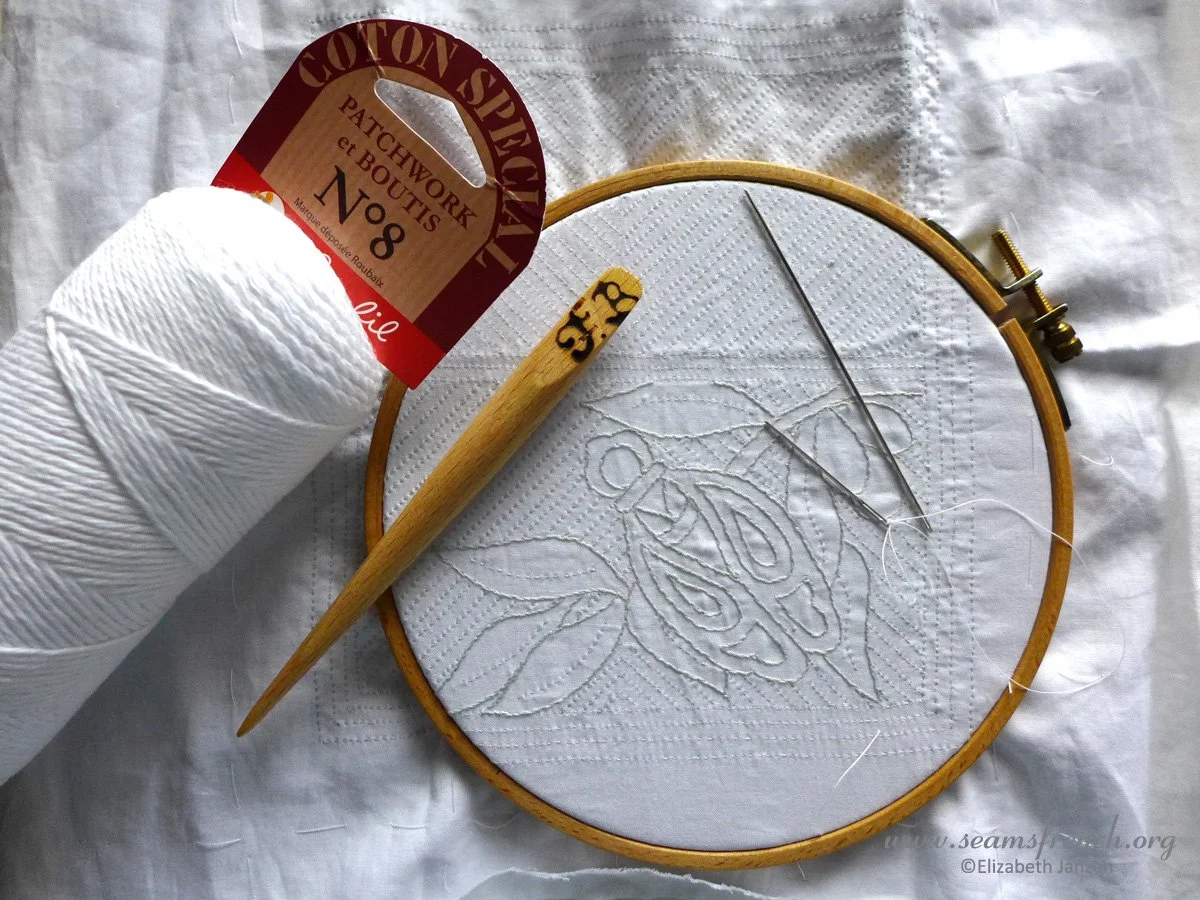
(Supplies required: above left to right)
Boutis cotton cording yarn, Smoothing tool to help ease in the yarn, 8” hoop, Round point tapestry needle, Specialty boutis cording needle. Note the larger size of hoop which accommodates most of the channels. It will be necessary to move the hoop from time to time.
Prep:
-Remove the basting threads.
-Decide which side will be your front and place the project back into the hoop with the wrong side up and the motif centered.
-Secure the project in the hoop, keeping it taut and square.
* It is crucial in this step to keep the tension even throughout. Overstretching one area creates uneven tension and creates a rippled finished surface that won’t lie flat. When adjusting the fabric in the hoop, never pull on the diagonal. Take care to notice that the weft (perpendicular to the selvedge) has more stretch than the warp (parallel to the selvedge).
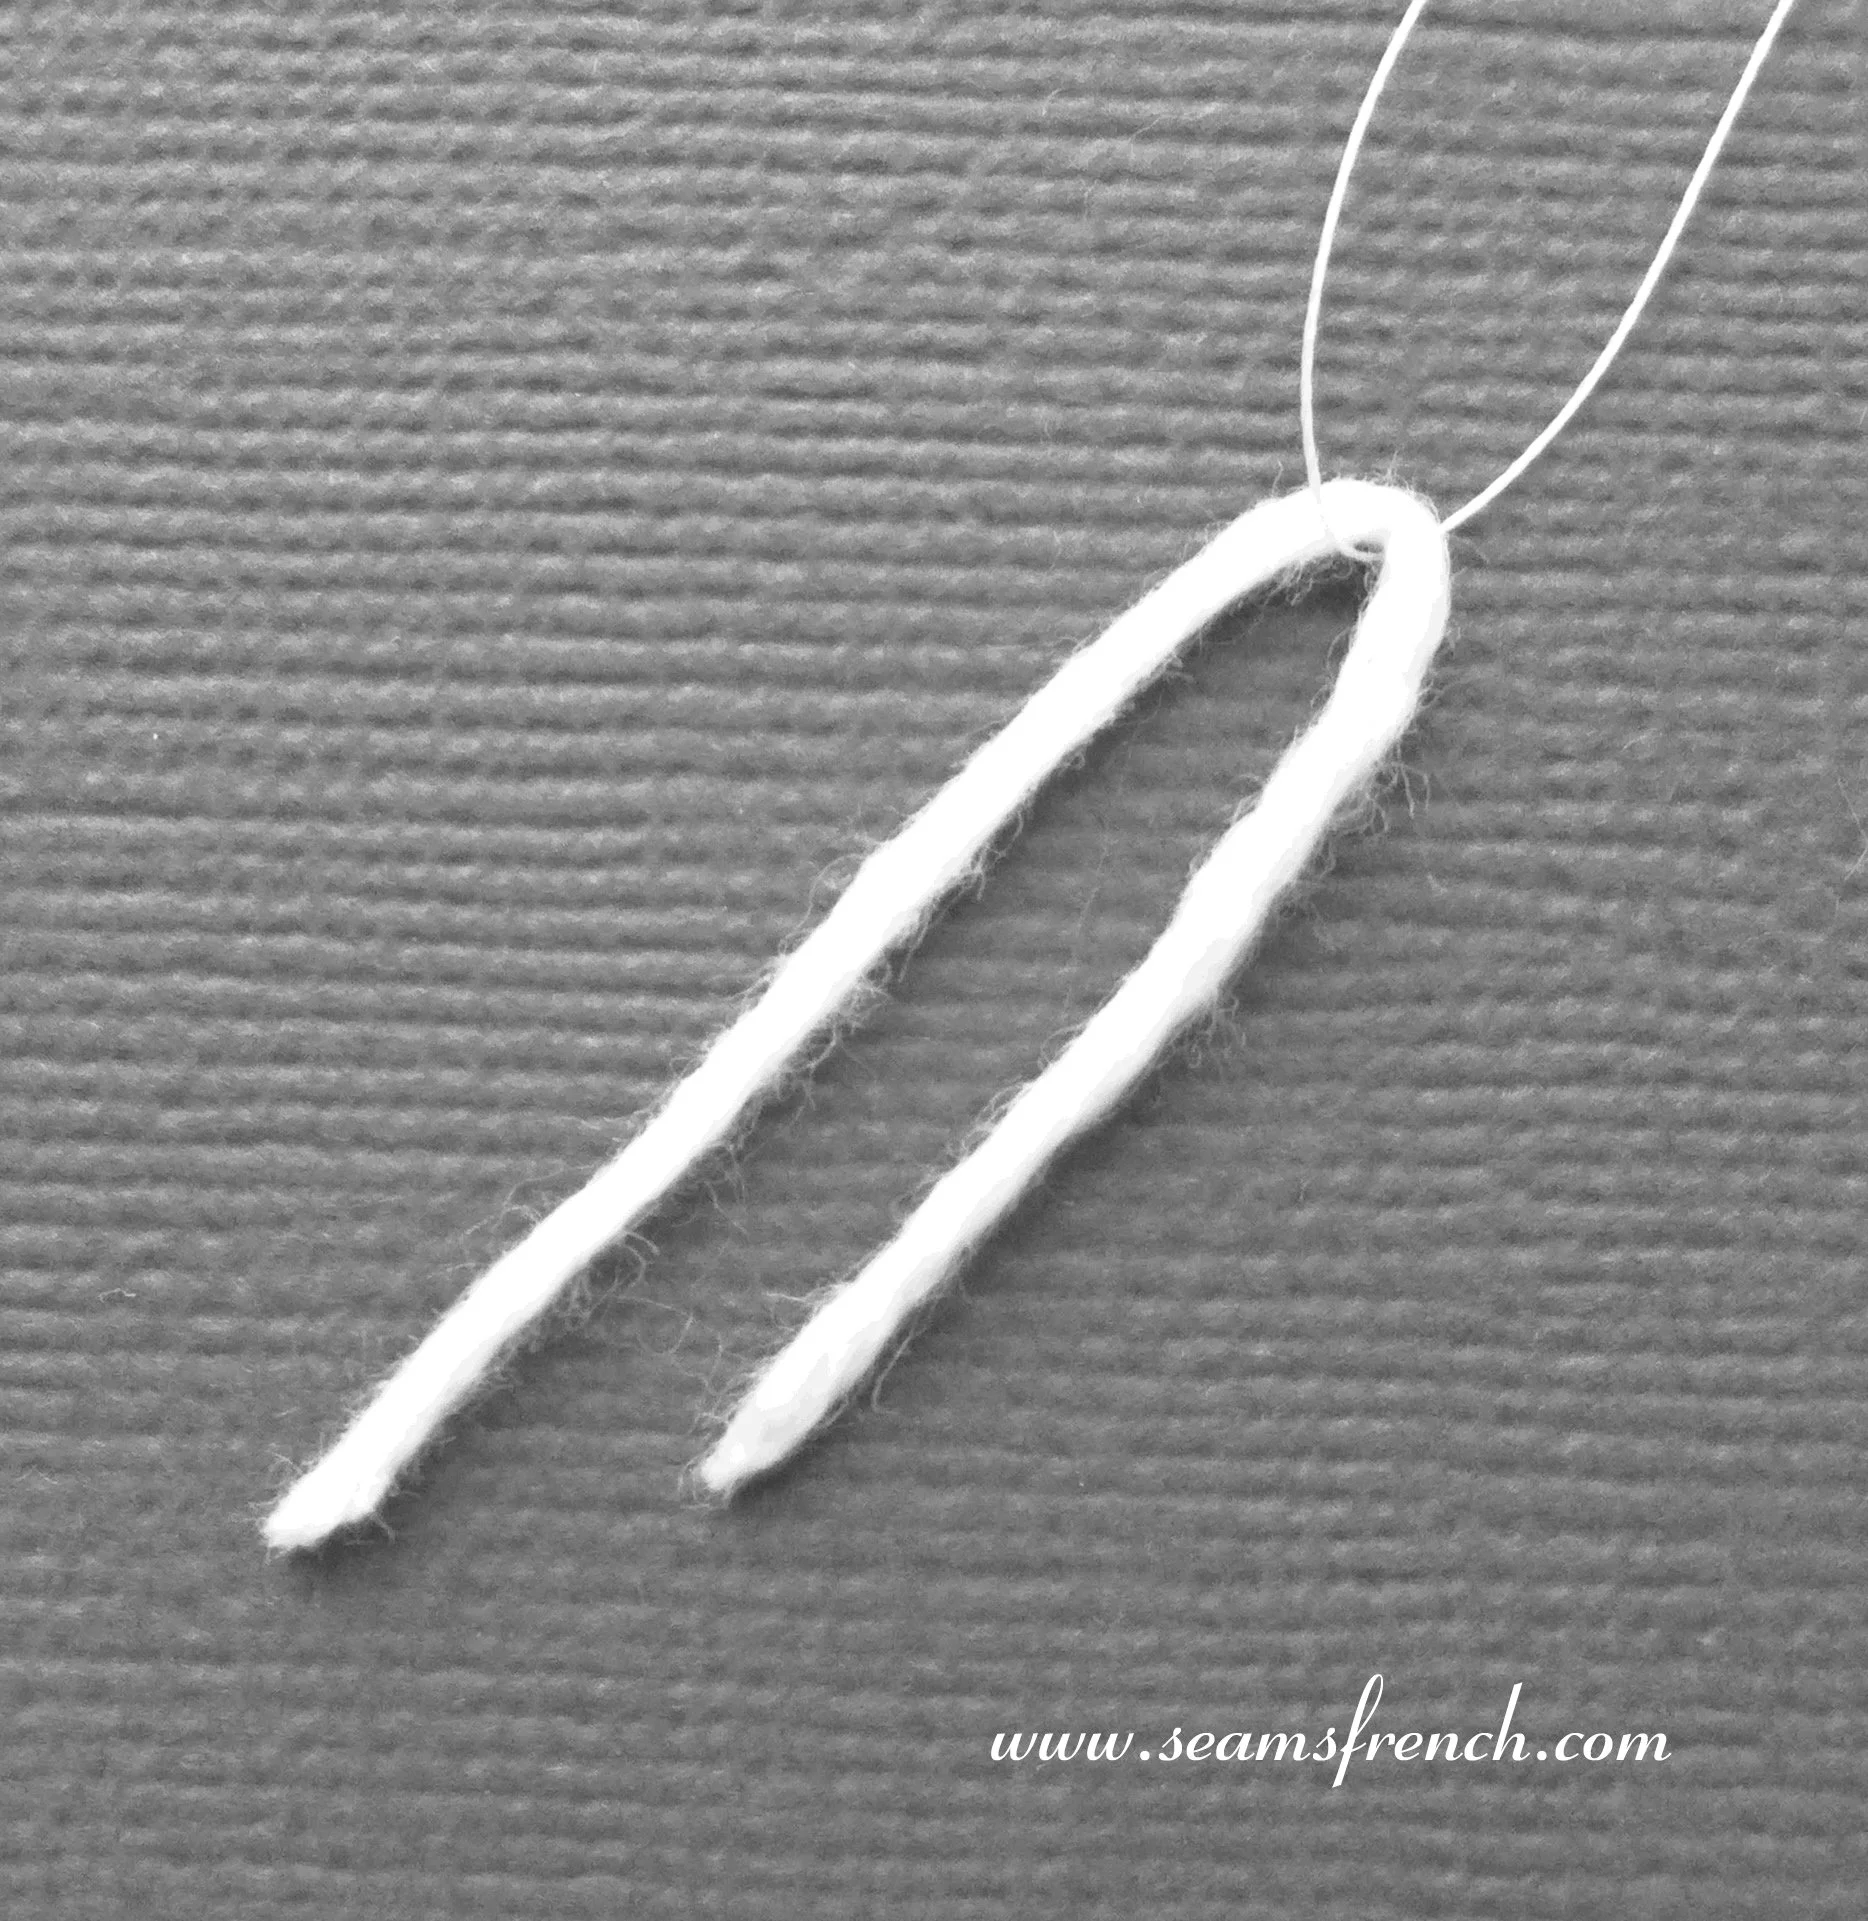
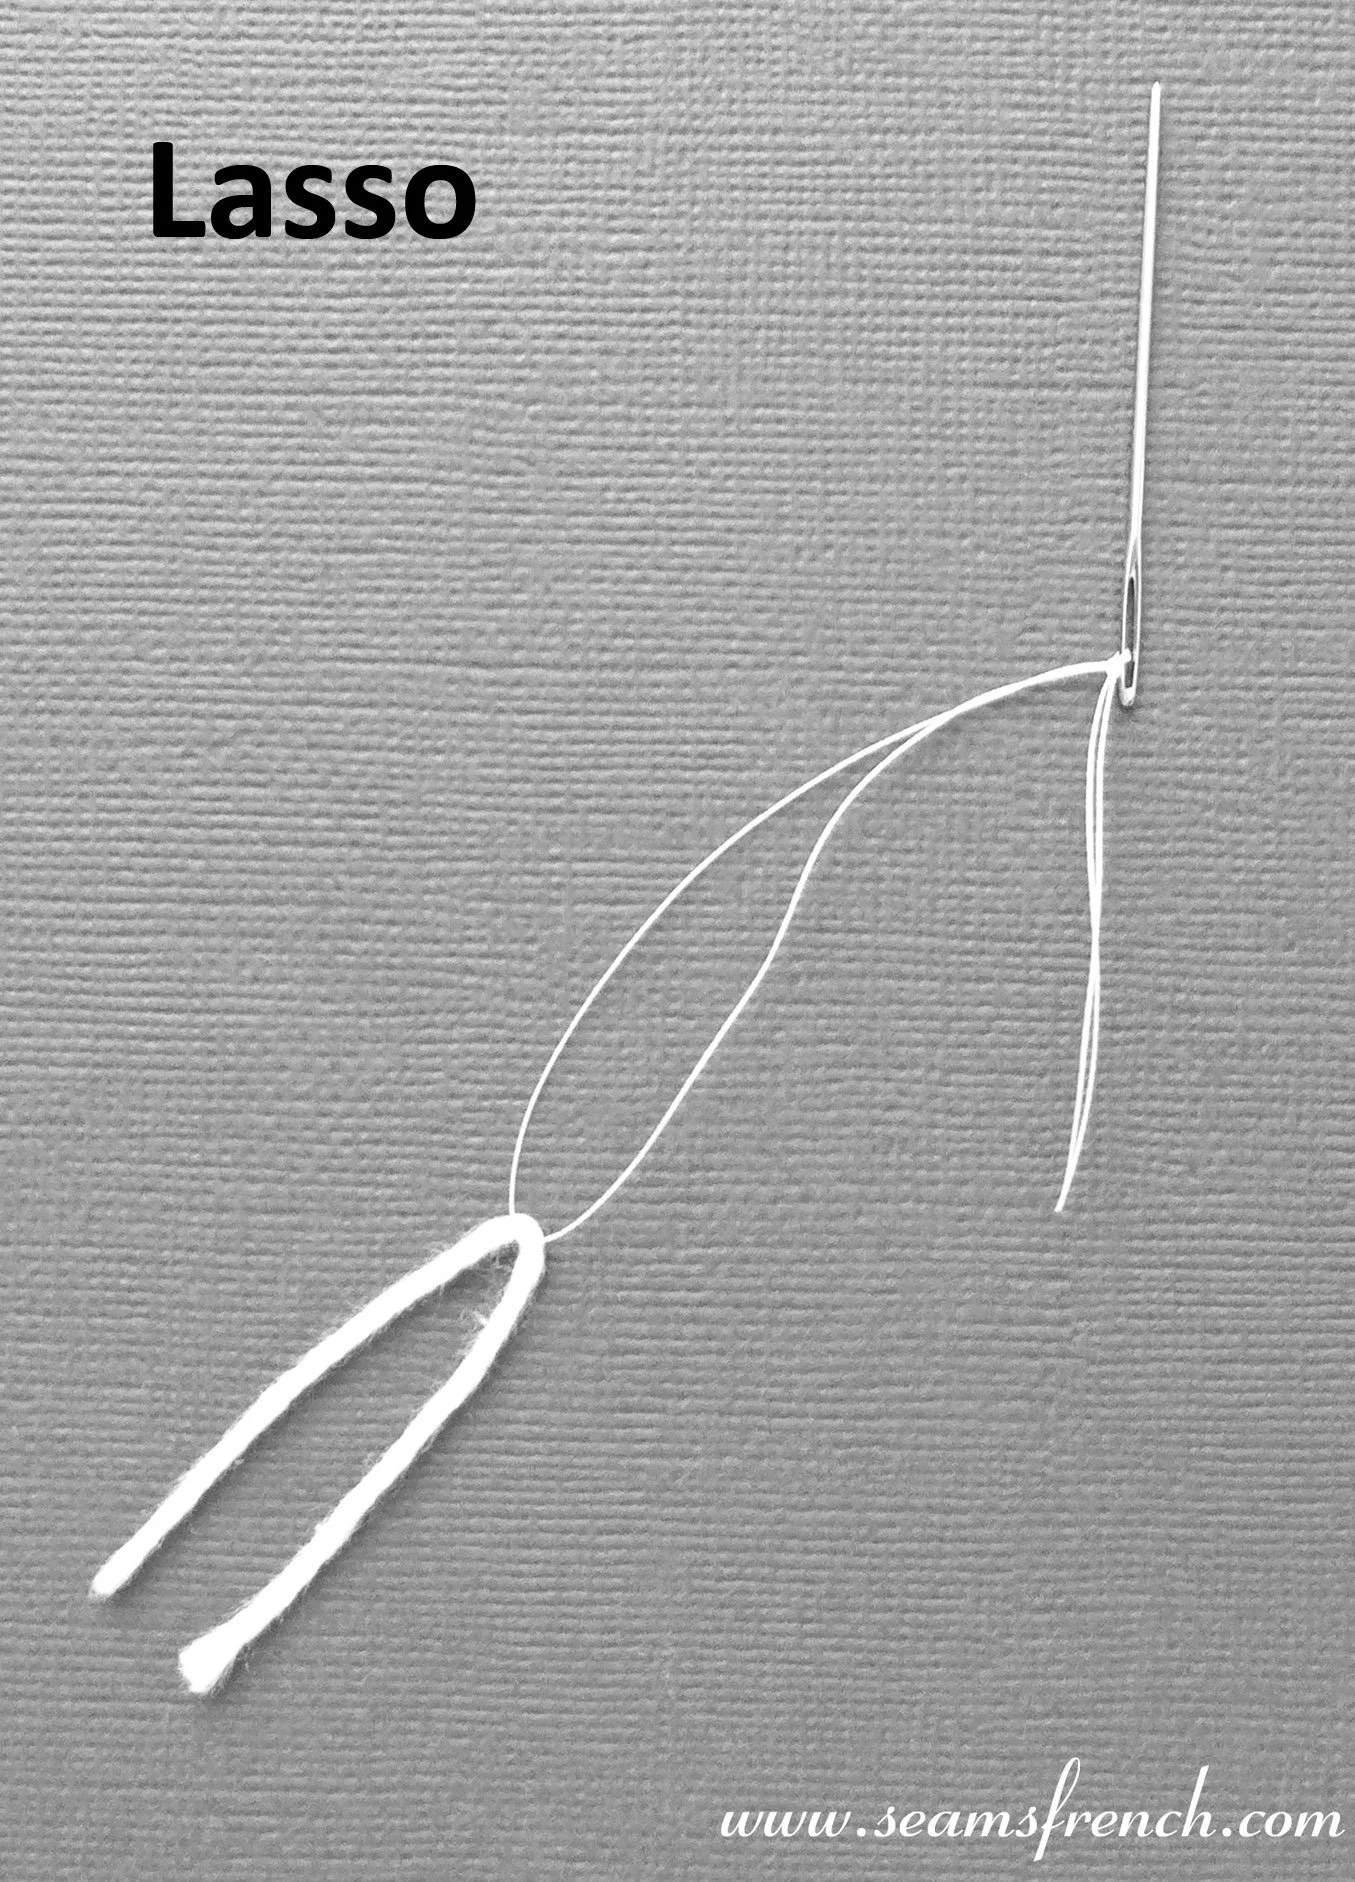
Make a lasso: (top left) To pull the yarn into the channel with greater ease, the yarn is placed into a loop or lasso, which is made at the eye of the tapestry needle with a strong thread.
To prep the needle for cording:
Use either the special Boutis needle or the tapestry needle.
- Make a loop by cutting a length of basting thread about 10 inches. Fold it in half and thread the needle with the looped end, leaving about an inch or two at the cut ends. Tie the thread to the eye of needle and secure with a double knot.
- Cut a length of yarn double the length of the channel to be corded. Add a few extra millimeters. Thread the yarn through the loop and fold it in half into an equal double thickness.
- Pinch the yarn at the fold to facility an easier entrance into the fabric.
Angled and Staggered Ends: (Top right)
If the channel is on a curve or meeting at a point, there will be overlap. To help reduce lumpy overlapping, both ends of the yarn are cut at an angle and slightly staggered.
General Cording Instructions:
All channels will be corded with a doubled strand of yarn.
1. Cut a length of yarn twice the length of the channel to be corded. Thread it through the lasso and
pinch the yarn at the fold.
2. Insert the looped and corded tapestry needle between the layers of fabric, into the channel or enclosed space to be filled.
3. Give the needle a firm tug to pull the yarn in between the layers. Glide the needle along the channel to the end, filling it completely.
4. Exit the needle at the very end of the channel and pull the yarn through to the yarn end, leaving a few millimeters of a yarn end. Veirfy that the entire channels has been filled.
5. Before clipping the end, pull gently on the channel to release any tension and coax the yarn to completely fill the channel.
6. Trim both ends of yarn leaving a scant tail (1/8”). Take care not to cut into the fabric.
7. With a toothpick, carefully tuck the clipped yarn ends into the channels between the layers of fabric.
Ease into place. No yarn should be visible.
8. Mend the hole left by the cording needle
Cording Order: Referring to the Pattern Guide on previous pages, note the following specifics for each heart.
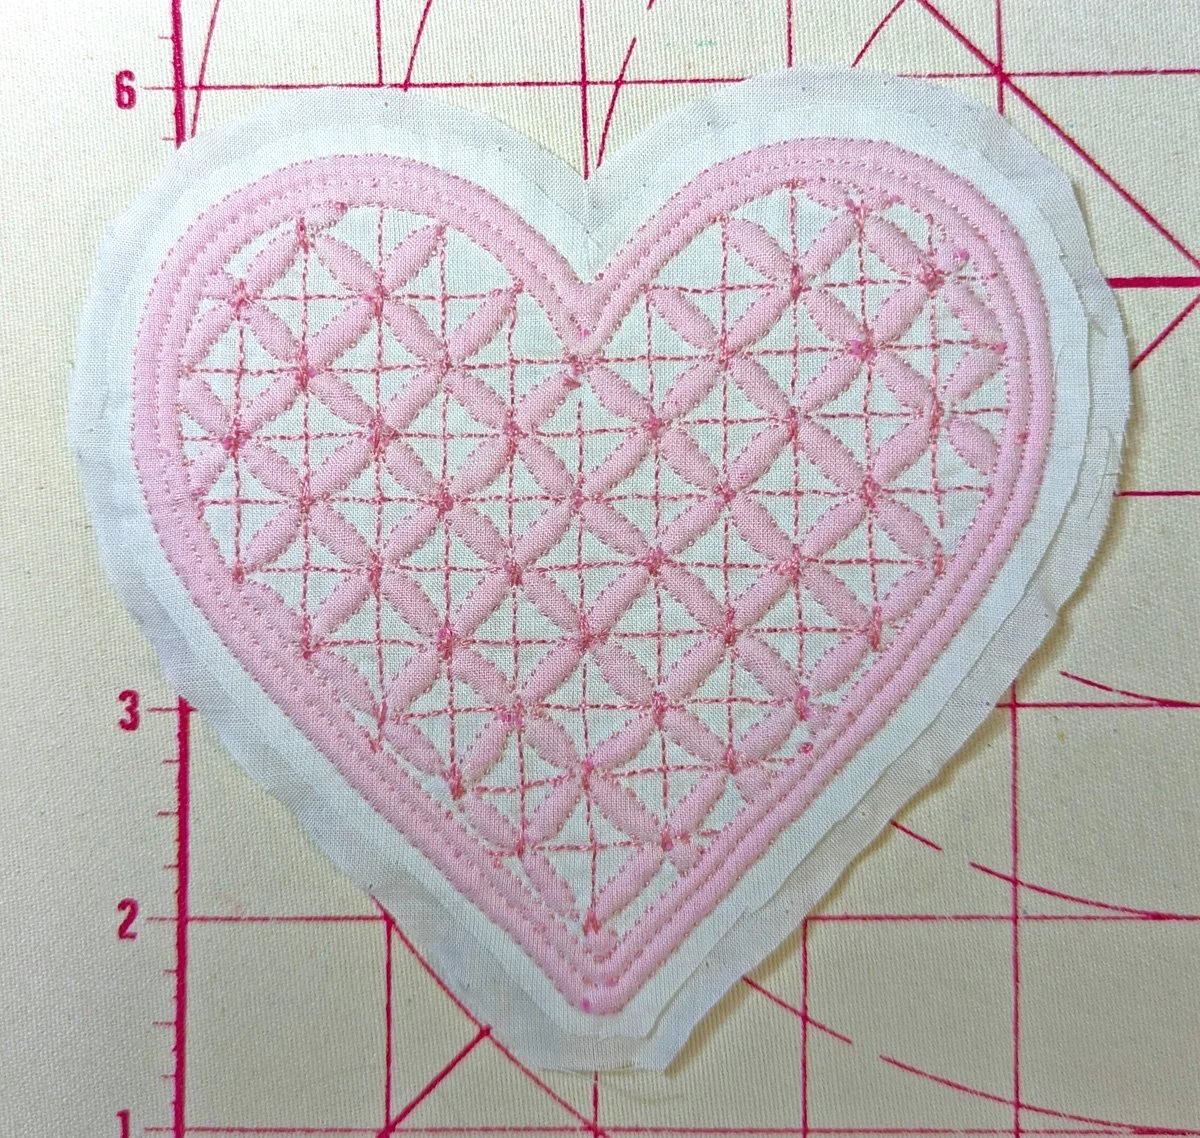
#1. Cross my Heart: (Above)
The cording is started from the middle of the pattern and worked towards the perimeter.
‐ Each channel and petal‐shape are individually corded using a doubled strand of cotton yarn.
‐ Cut your length of yarn to about 20”.
‐ Insert the needle in between the layers into the channel, ease in the yarn and pull forward towards the opposite end. Exit needle and yarn. Make certain the whole shape is filled. When satisfied with the volume of yarn inserted into the shape, hold it up to the light to verify that the shape is comfortably filled. Trim and tuck the ends.
For the border, follow the instructions outlined below, in Heart #2.
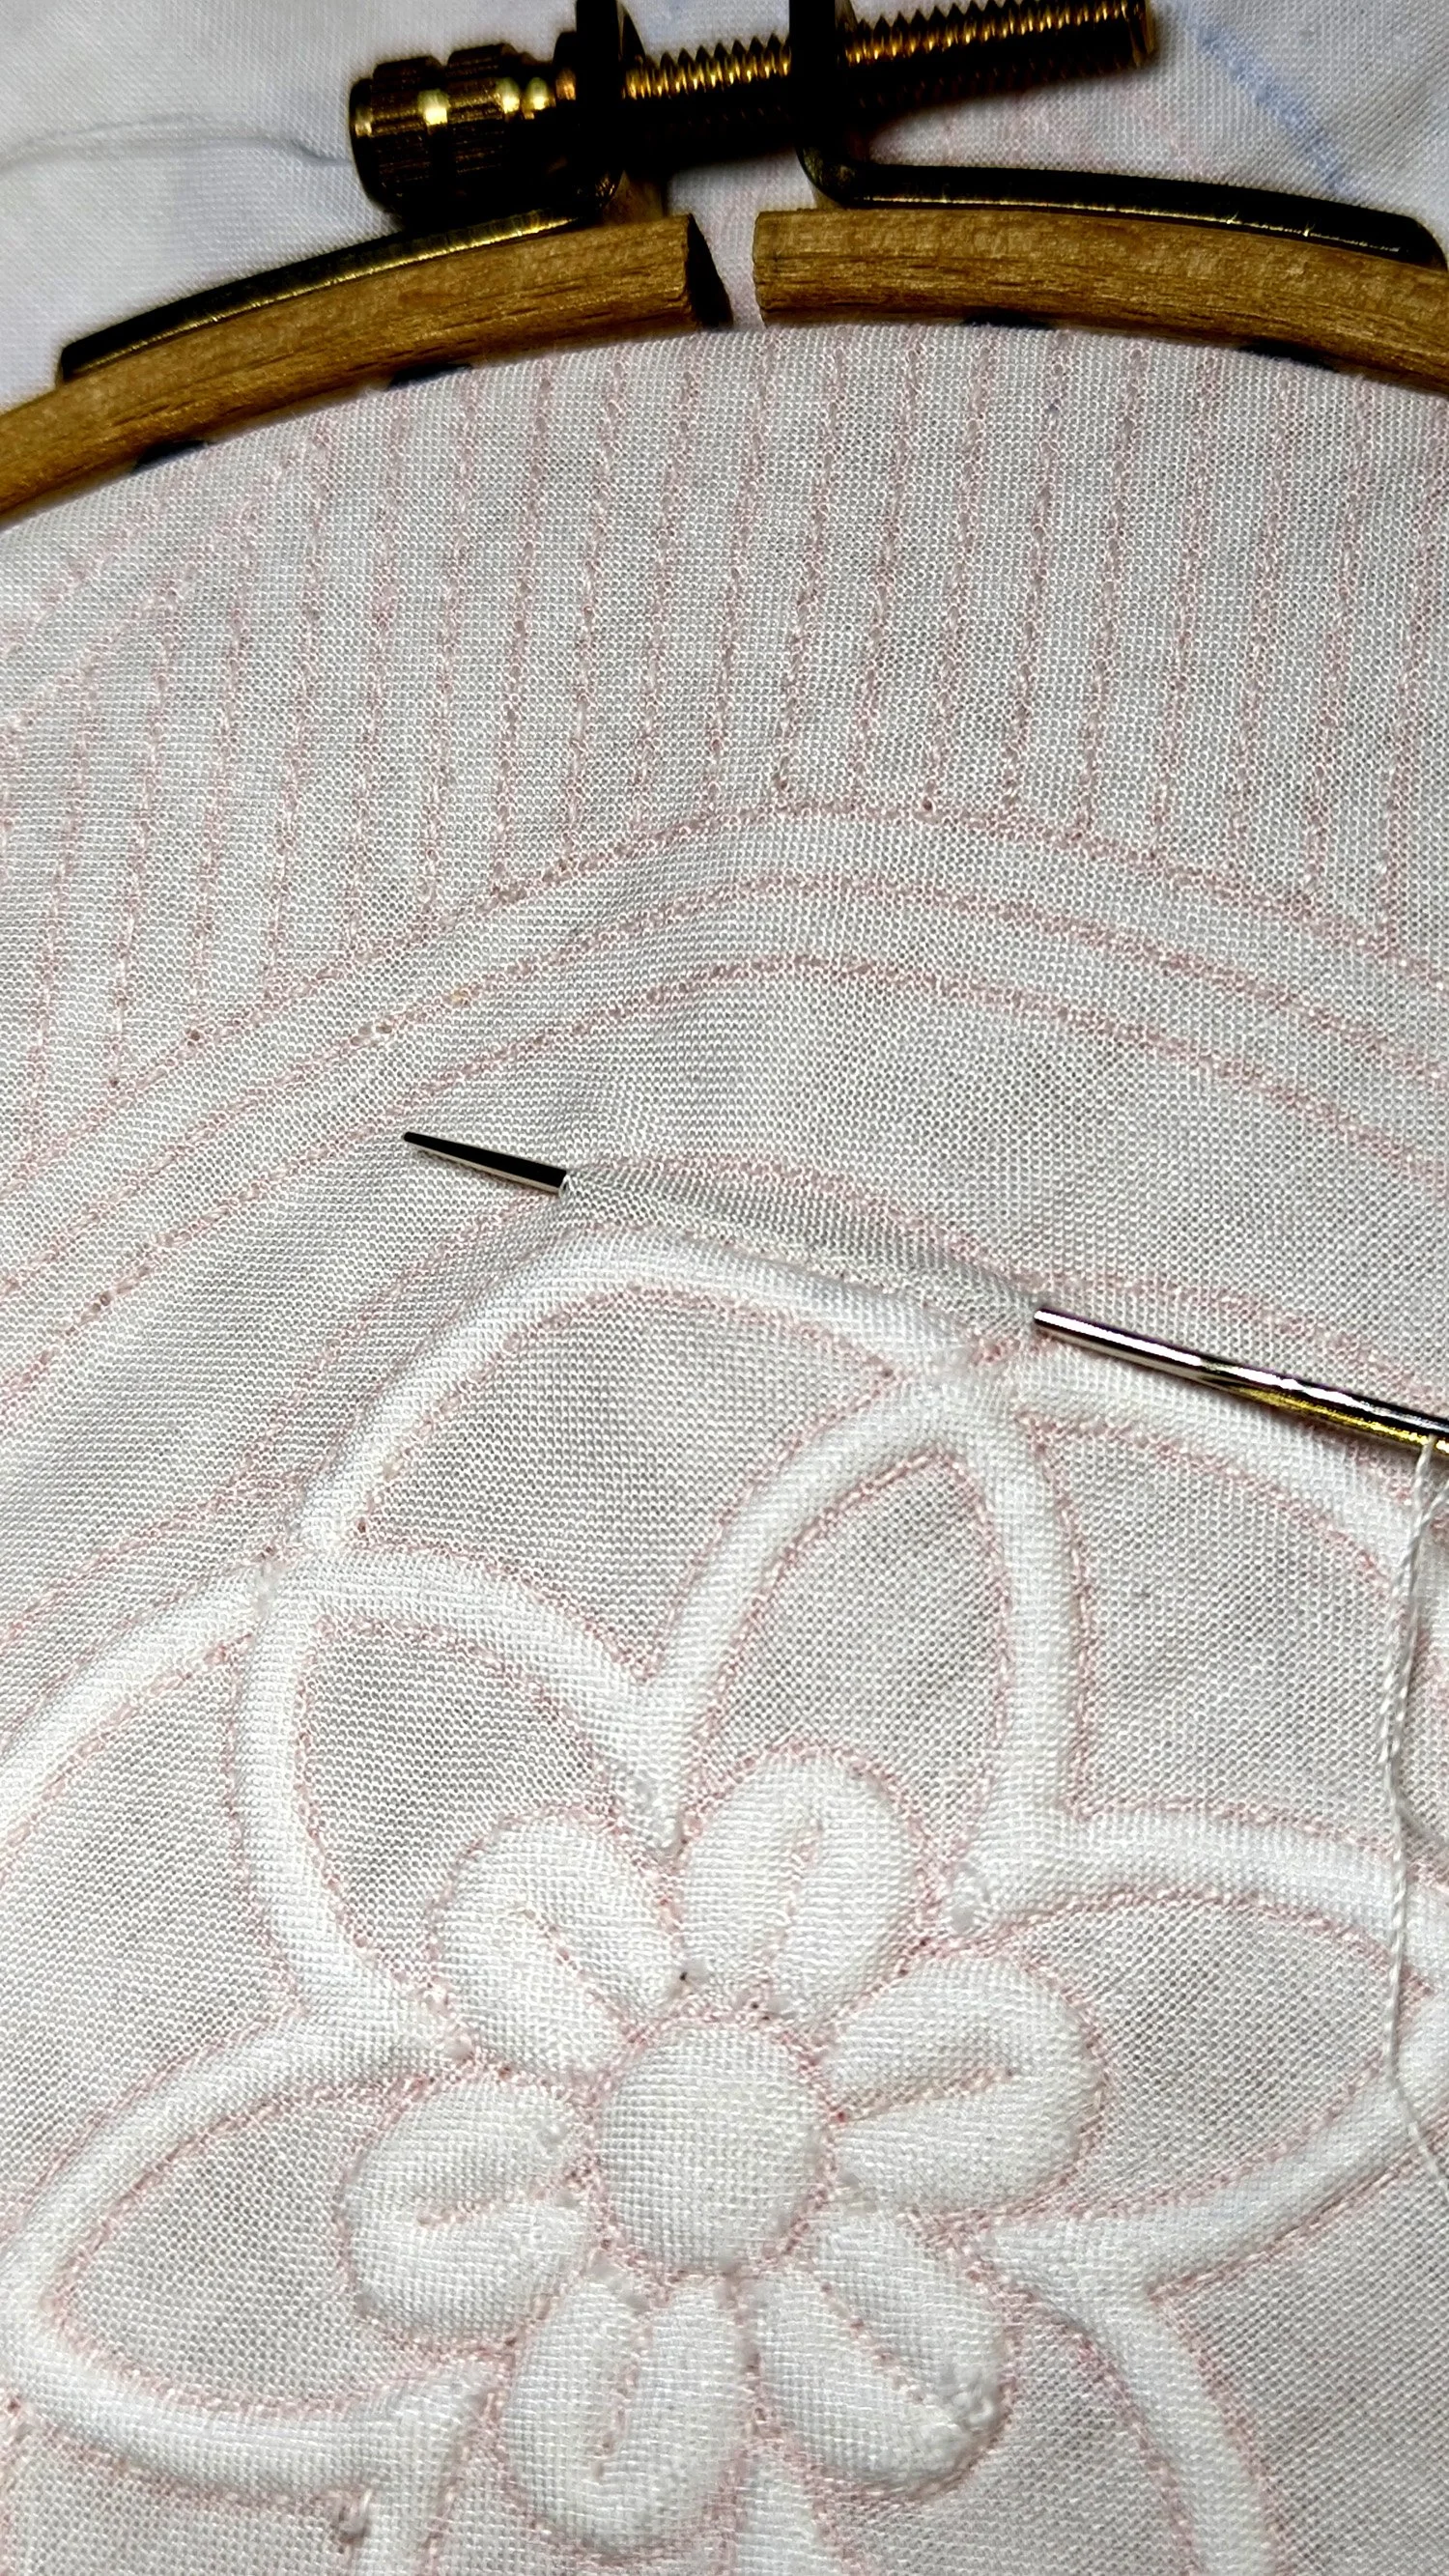
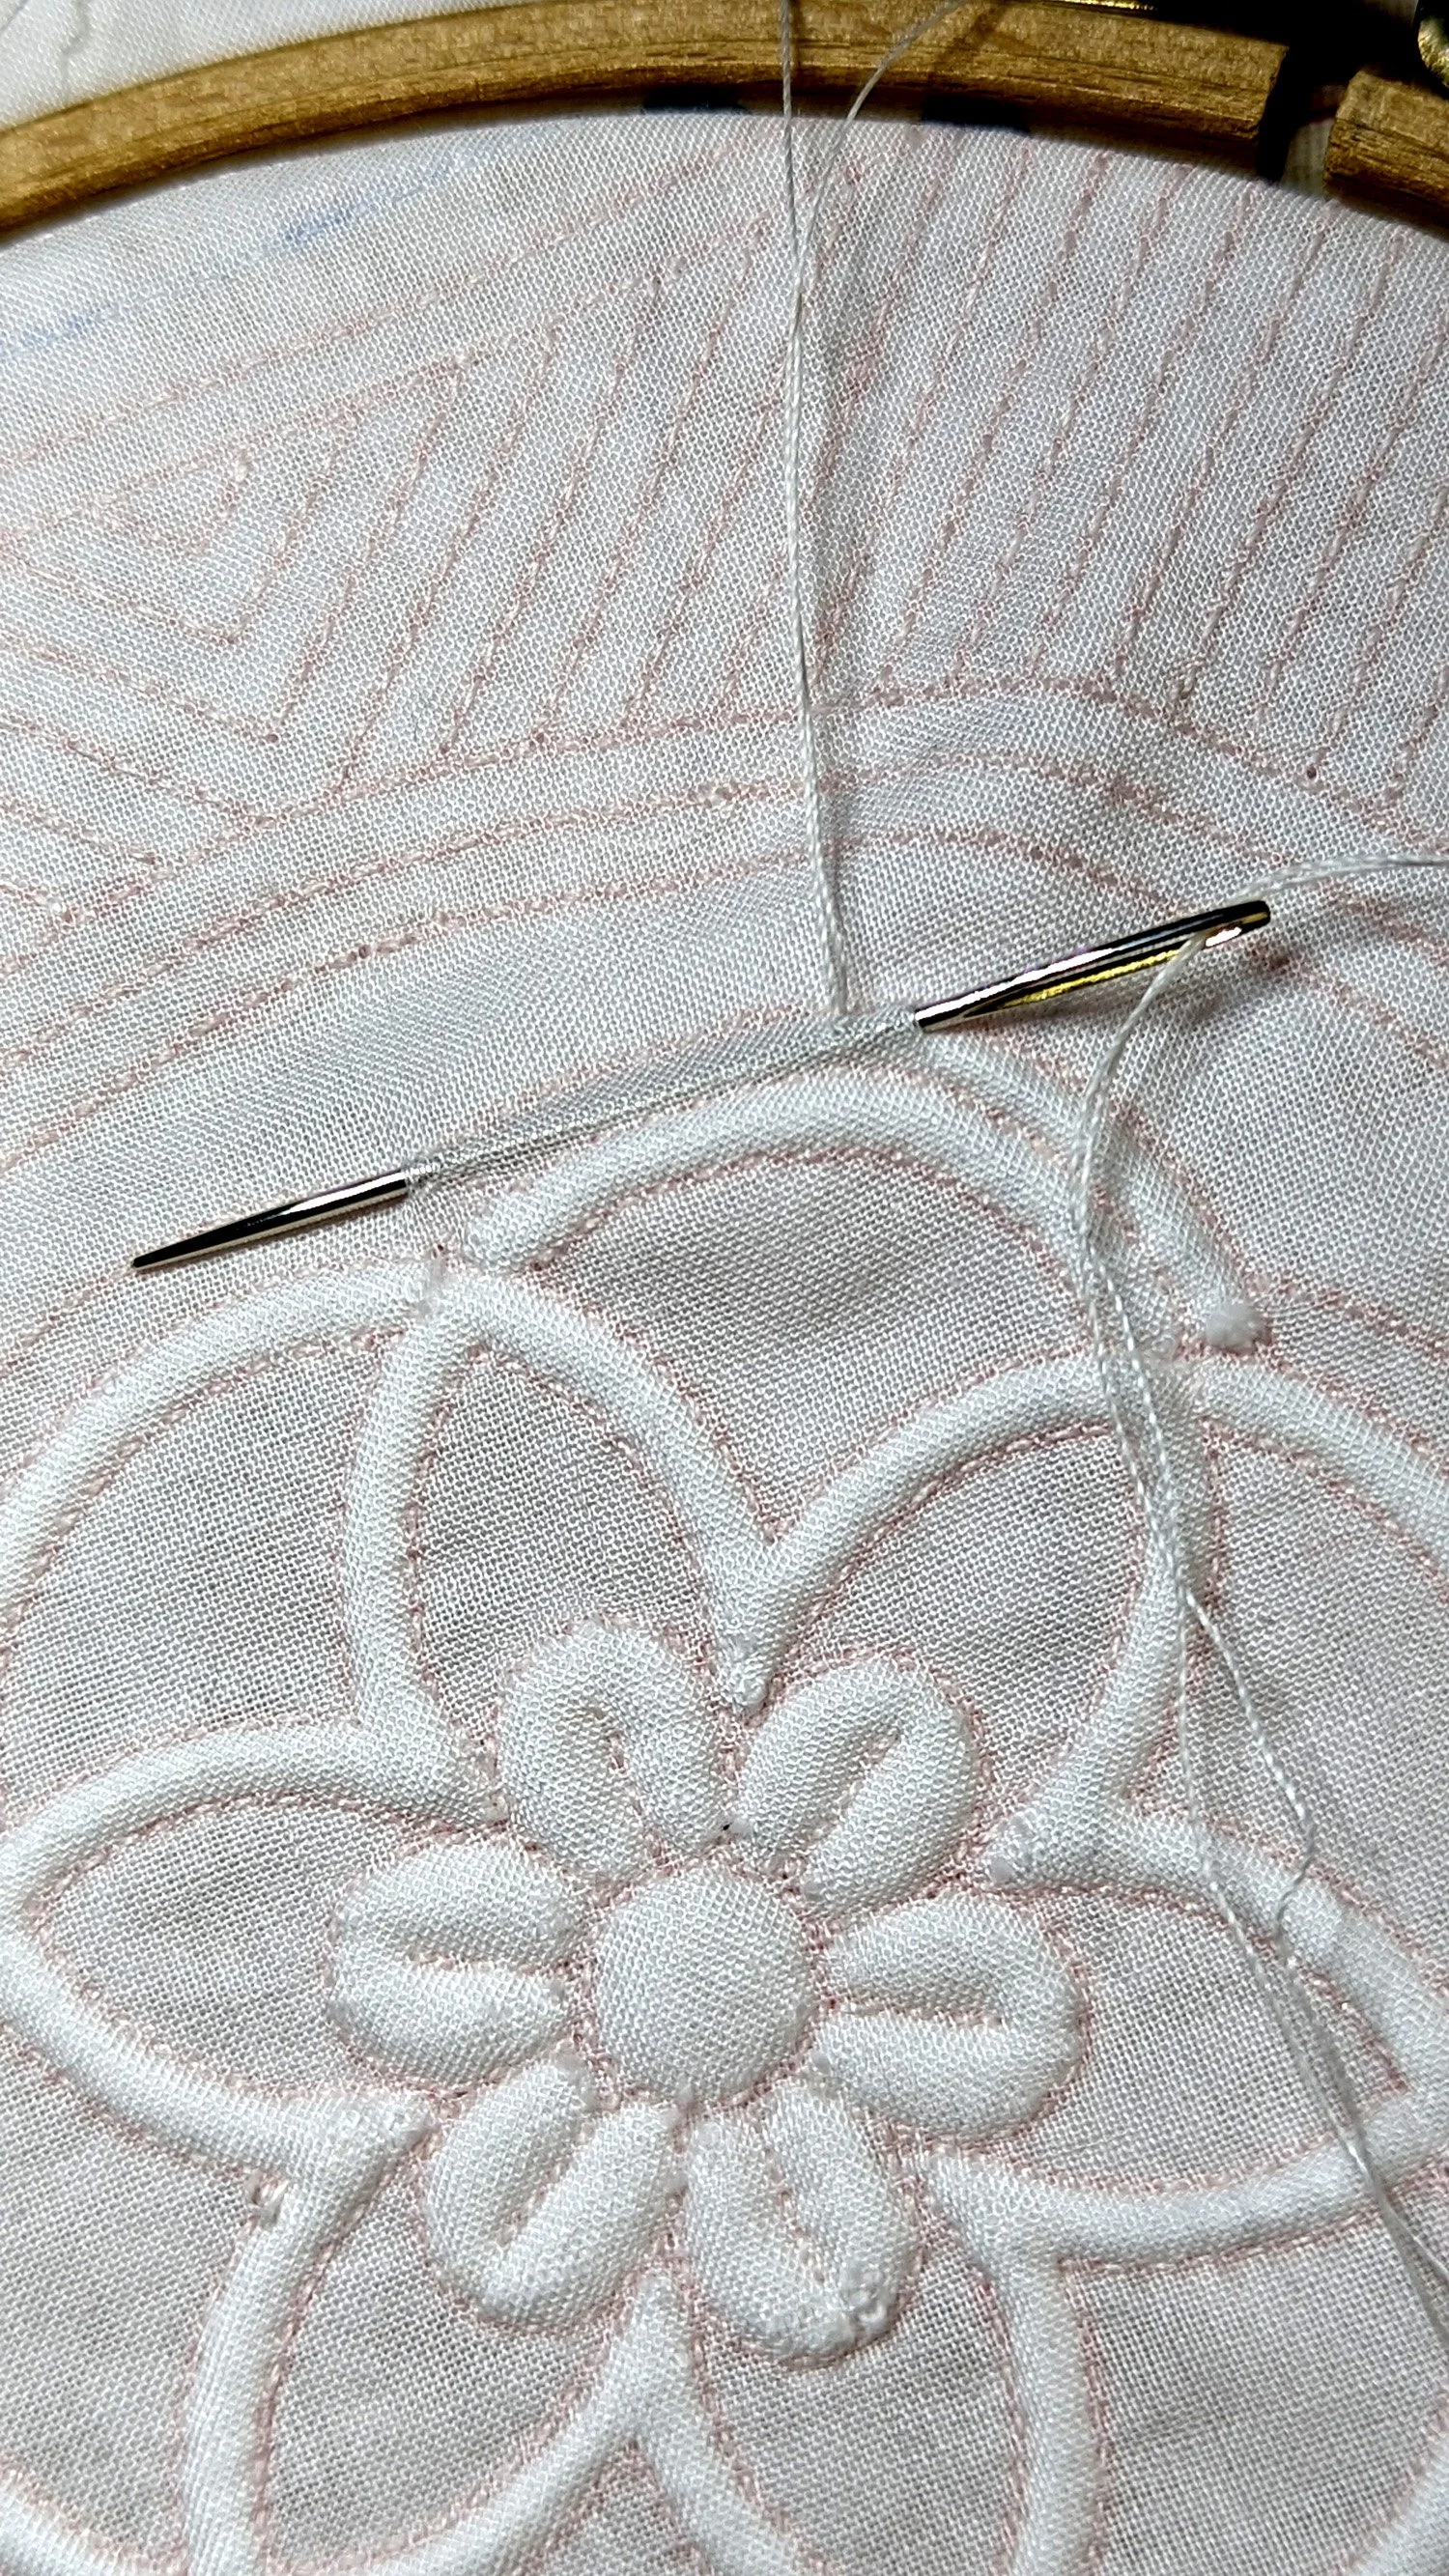
The same technique is applied when cording longer channels (see left) with an additional step. If the channel is longer, it becomes to difficult to cord it with only one insertion of yarn and may require several lengths of yarn.
-To re‐enter with a new length of yarn, you must slightly overlap the end of the previous yarn. To reduce the bulk of overlapping, the ends of the yarn must be angled and staggered every time there will be an overlap.
- Continue this process until the entire curve is filled.
- Clip the ends each time, but don’t trim and tuck until the entire curve has been corded. This allows for some readjustment of the yarn while working on the segment.
- When the section is complete, gently tug the channel to allow the yarn to relax into the corners. Now trim and tuck all the ends.
When cording the outer channels forming the border, do not trim and tuck the yarn ends at this stage. To allow the yarn to relax into the channel completely, trimming and tucking in the ends will be done near the very end, after the blocking and squaring stage. If necessary more yarn may be added at that time to fill the channel.
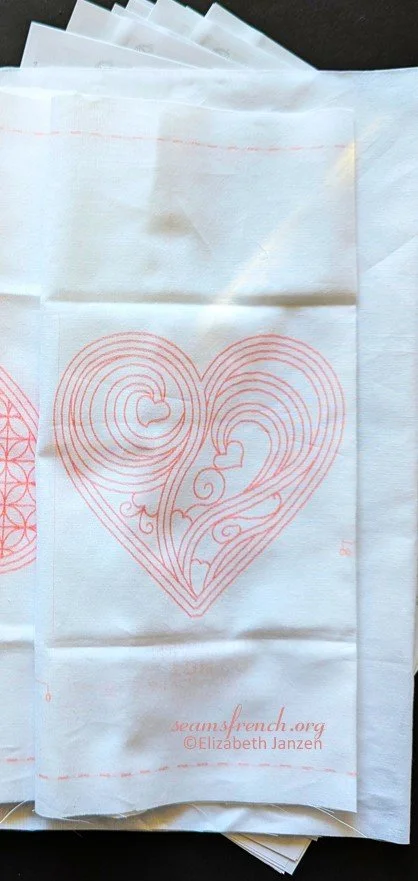
#2. Heart & Scroll : (Above) When the channel is longer than the needle, follow the procedure below.
The lasso (thread loop) must be the length of the needle.
Cording curved channels:
- Using the boutis cording needle, insert the needle between the layers taking the needle as far as you comfortably can
- Pull the needle and the lasso until the yarn is on the verge of popping out, but still completely enclosed in the channel.
- Re‐enter the tip of the needle into the precise hole in the fabric from which it just exited, making sure to stay between the layers. Glide the needle forward as far as it allows and exit.
- When you have taken the needle and yarn as far as they will comfortably go, exit both and clip the end but do not trim and tuck yet. The final trimming and tucking takes place when the entire channel is corded.
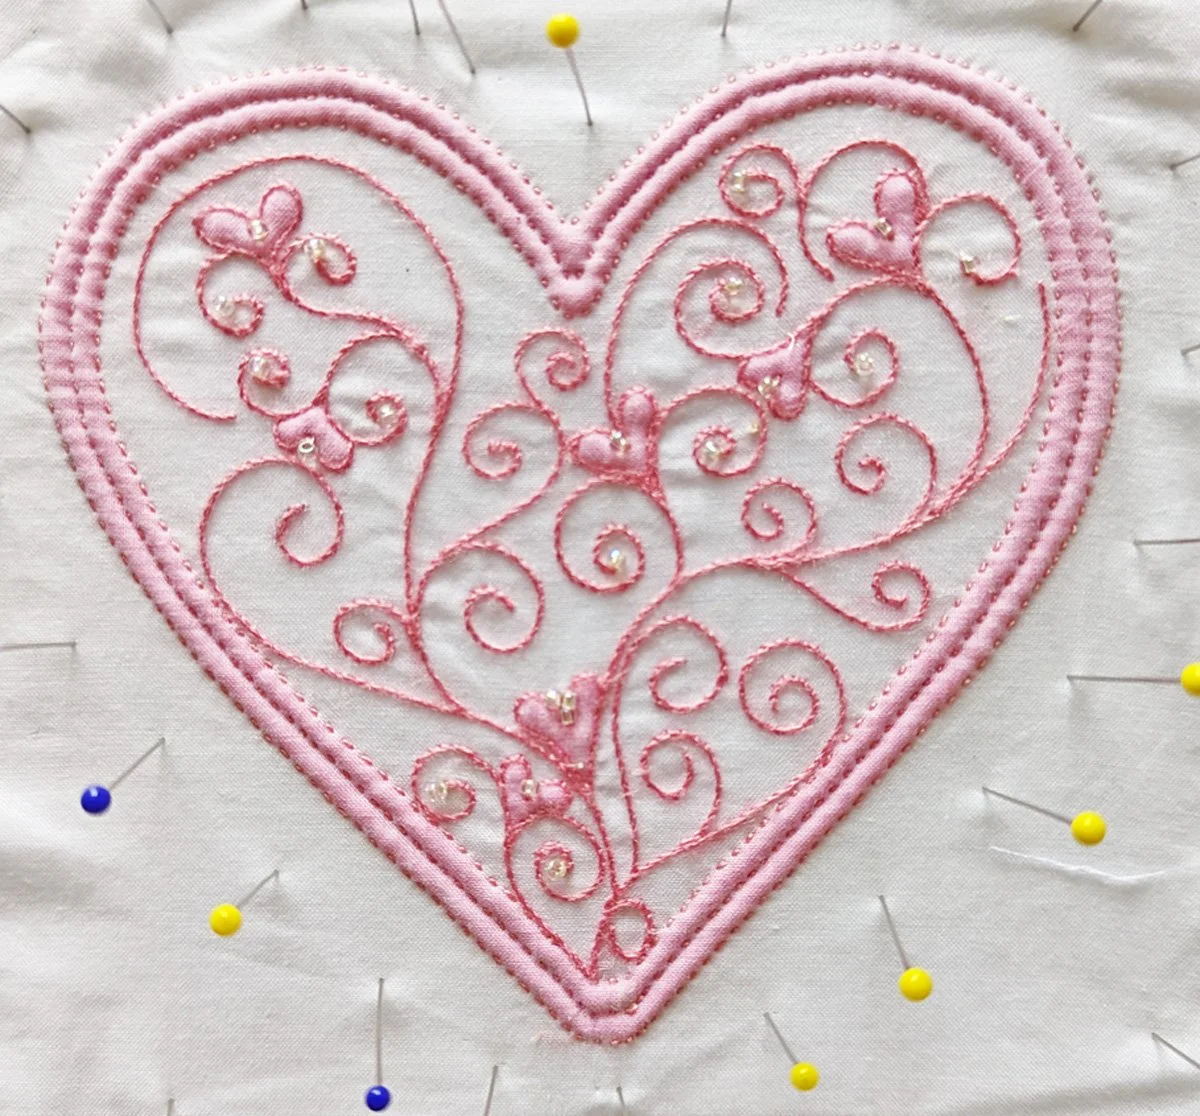
#3. All Heart (above)
As the third little heart is mostly embroidery, there is not much to cord except for the hearts and the border.
When filling a fuller shape such as a pearl or a heart, it is necessary to add several rows of cording.
‐ Cut your length of yarn to approximately 20 inches
‐ The amount of yarn inserted into each heart depends on the size of the heart. Each heart will require several insertions of yarn. Use your judgement to fill to your preference. (Remember, you have the option to use only one strand of the yarn when adding additional yarn to achieve the desired fullness.
- Follow the instructions above to cord the border.
Beading: (Refer to the Pattern Guide in the Stitching Section for placement)
If adding beads or French knots, they are attached after the piece is corded, but before it is washed and blocked. Refer to the patterns and the legend on the Stitching page for suggested bead placement.
- Using a double length of thread, attach each bead with 2-3 passes of needle and thread to stabilize in place.
- To keep both sides of the heart tidy, when attaching the beads, ensure that the needle always uses the same hole when stitching up and down through the bead a second and third time.
- When gliding between the beads, keep knots and travel lines hidden within the corded channels.
- Heart #1 has many seed beads. It is easy to move from one leaf to the next by gliding inside the corded channels.
- Hearts #2 & #3 use the medium sized beads and must be individually attached, burying the knots in the corded hearts.