Learn Boutis:
1. Preparation - Tracing, Basting & Hooping
Just as the right materials make a difference in the quality of the project, so good prep can make a difference in the result. Taking time and care at the outset eliminates a lot of frustration along the way and makes for a more enjoyable experience.
- Assemble your tools for each stage just as you do when cooking. Think “mise en place”.
- Reading through all instructions at each step before starting will prevent you from making unneccessary difficulties for yourself.
Stitching, embroidery and beading will all be used in the process. Although the basic technique is the same for all 3 hearts, each heart will come with its own set of specifics if required.
Preparing the batiste:
Precautions:
- To avoid uneven shrinkage, never pre-wash the fabric, whether printed or not. Boutis can shrink up to 14%, so it’s important that all materials (batiste, thread, cording) are washed at the same time.
- Because it is easy to scorch the white baste, if possible, avoid pressing. All creases will relax and smooth out after washing and blocking.
- Mark the warp on both pieces of the batiste. During all the steps, it is important to keep the fabric square and both pieces of fabric running parallel to the grain line (warp/weft; weft/weft). Be aware that the weft (perpendicular to the selvedge) stretches more than the warp (parallel to the selvedge). If the grain is not parallel in both pieces, it can cause uneven tension and result in wavy and distorted channels.
- Keep the fabric taut at every stage, without over or under stretching. Do not stretch on the bias.
Tracing the Design: (Applicable if you do not have a preprinted pattern)
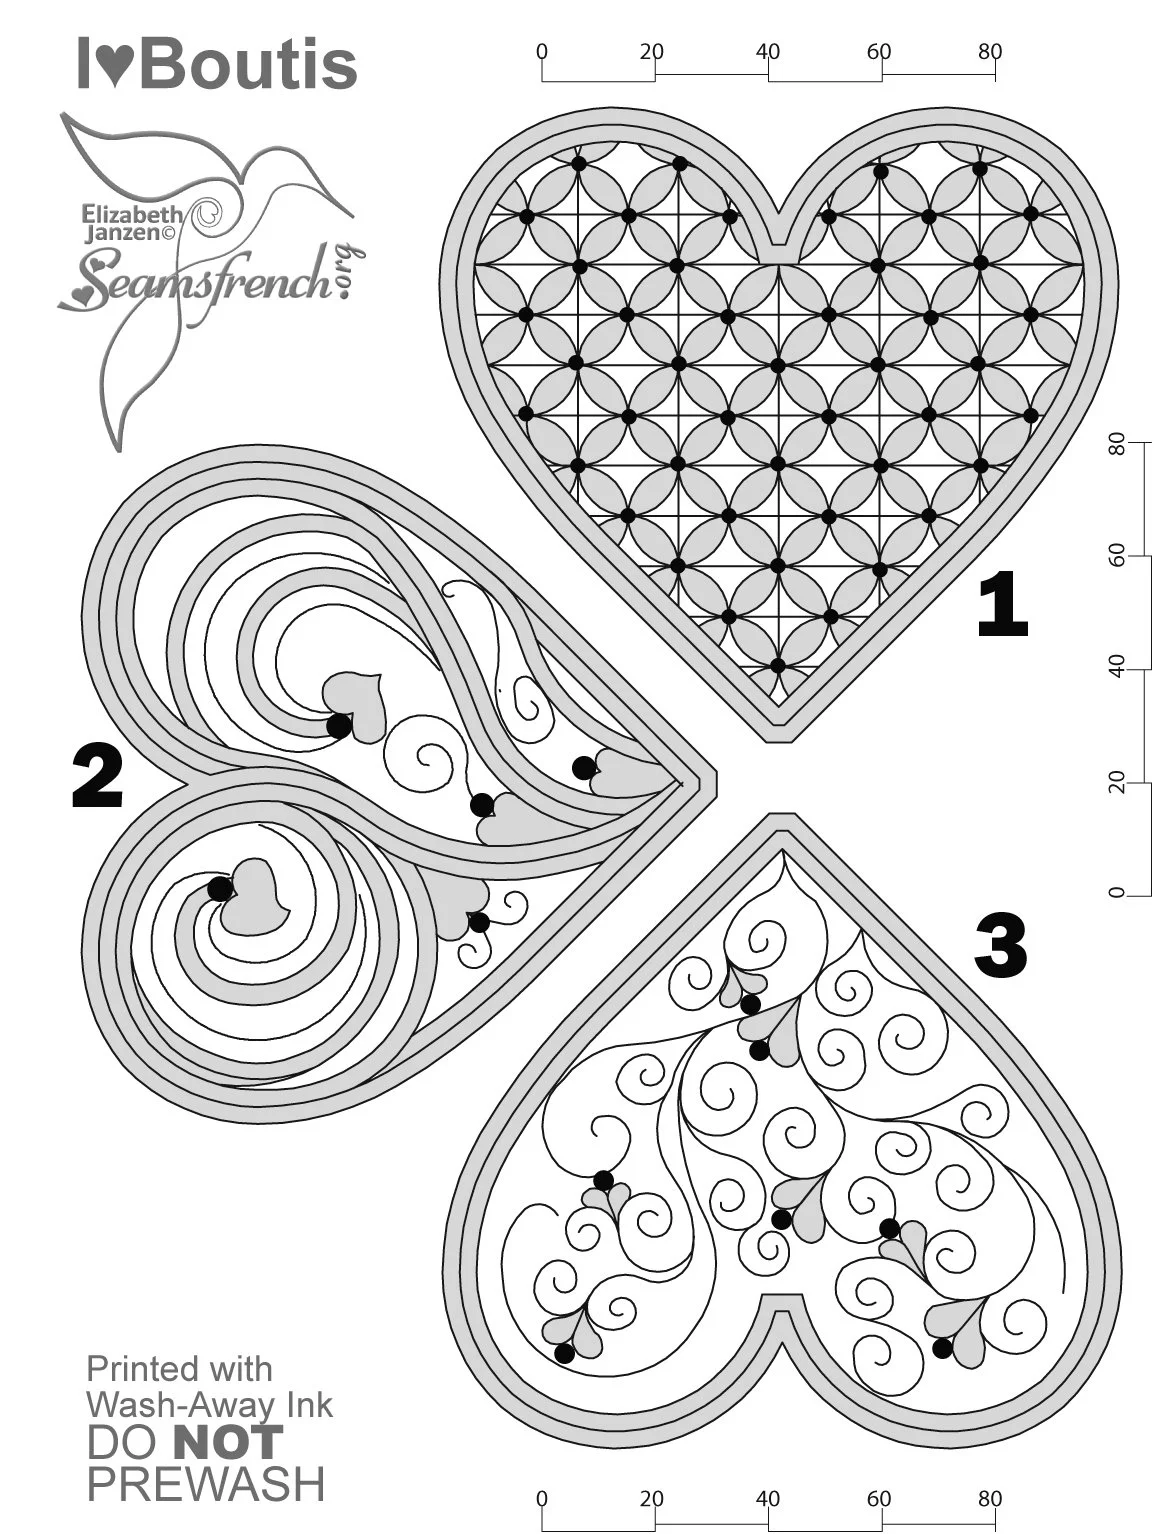
The pattern consists of 3 separate hearts.
*If you prefer to work each heart independently, the pieces may be cut apart and worked independently. Ensure that each heart has sufficient space (approximately 2 1/2” border around each heart) to accommodate the hooping. (See below)
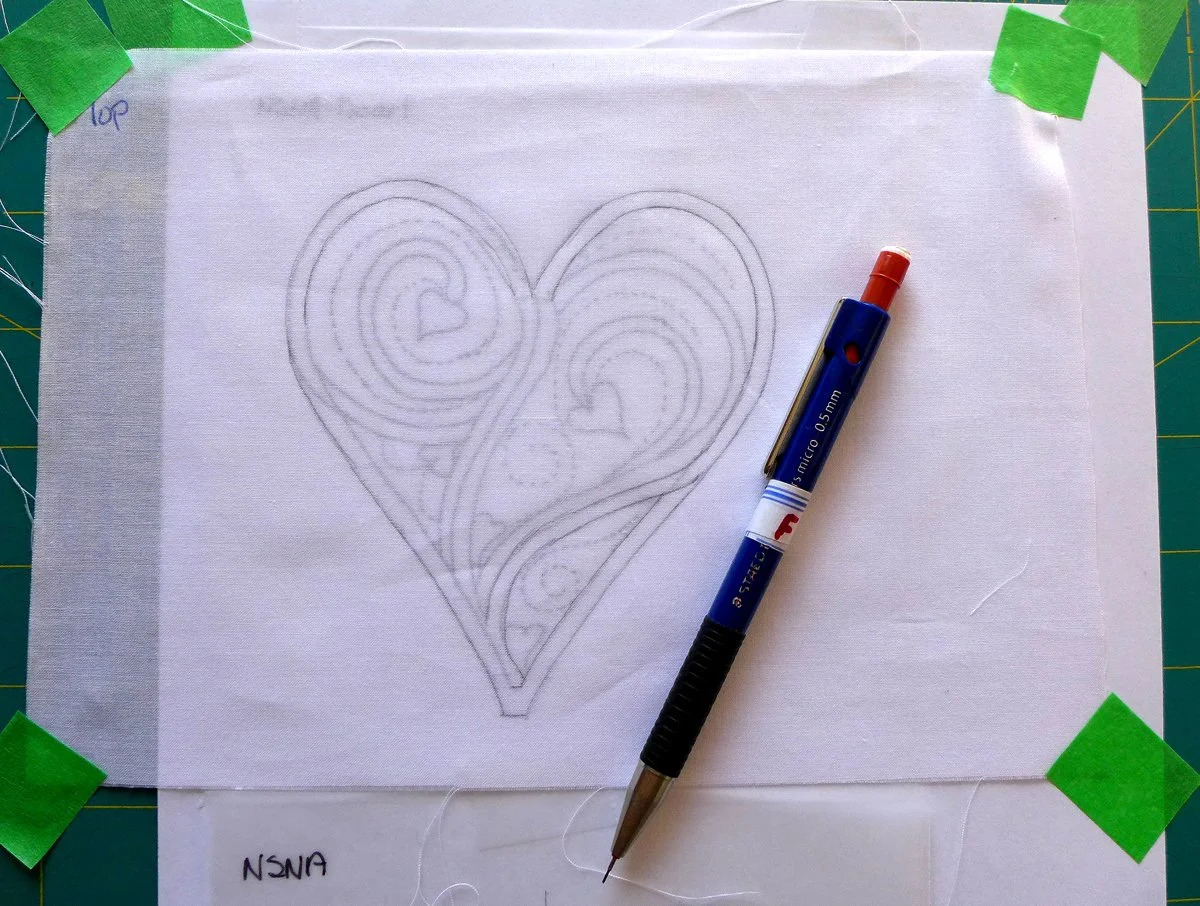
*NB: Make certain that both pieces of the batiste are square, with the straight of grain running in the same direction. It is helpful to mark the straight of grain on both pieces. Note the word “top” has been written in the margin to indicate which way the grain runs. I mark both pieces either with an arrow or the word “top”).
If you’re all set to stitch, you can download the pattern here. The password to open the link is: I_Heart_Boutis.
As my Etsy shop is currently closed, if interested in purchasing a kit, pleas please email me directly from this website.
1. Cut the pattern pieces apart and separate the three hearts.
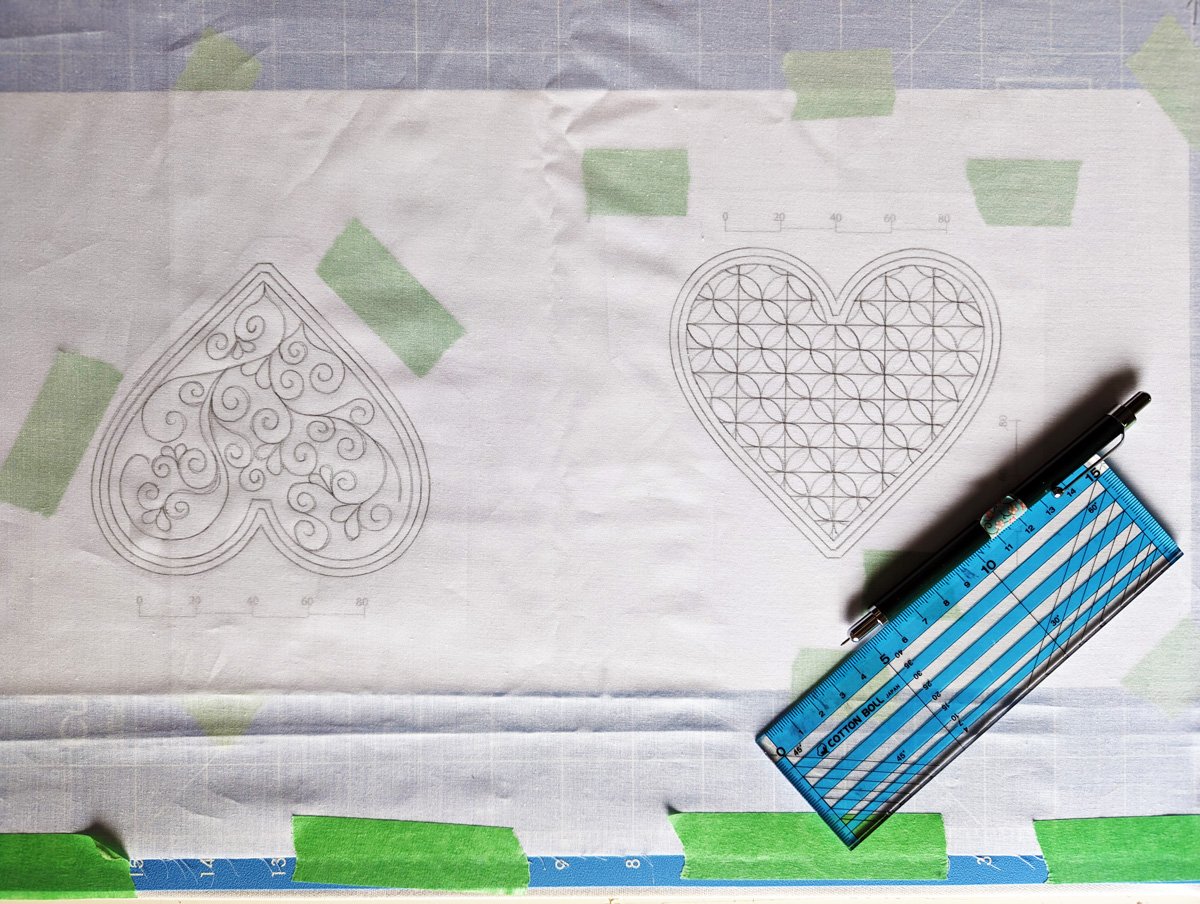
2. Evenly space the three hearts on a flat light surface, leaving a space of 4” – 5” between the hearts to accommodate the hooping. Secure the pattern to the surface with easy release tape. (above right)
3. Centre the right side of the white batiste overtop of the pattern pieces, leaving a 3” – 4” space around the border. Tape into place. NB: Take care to keep the fabric square and smooth.
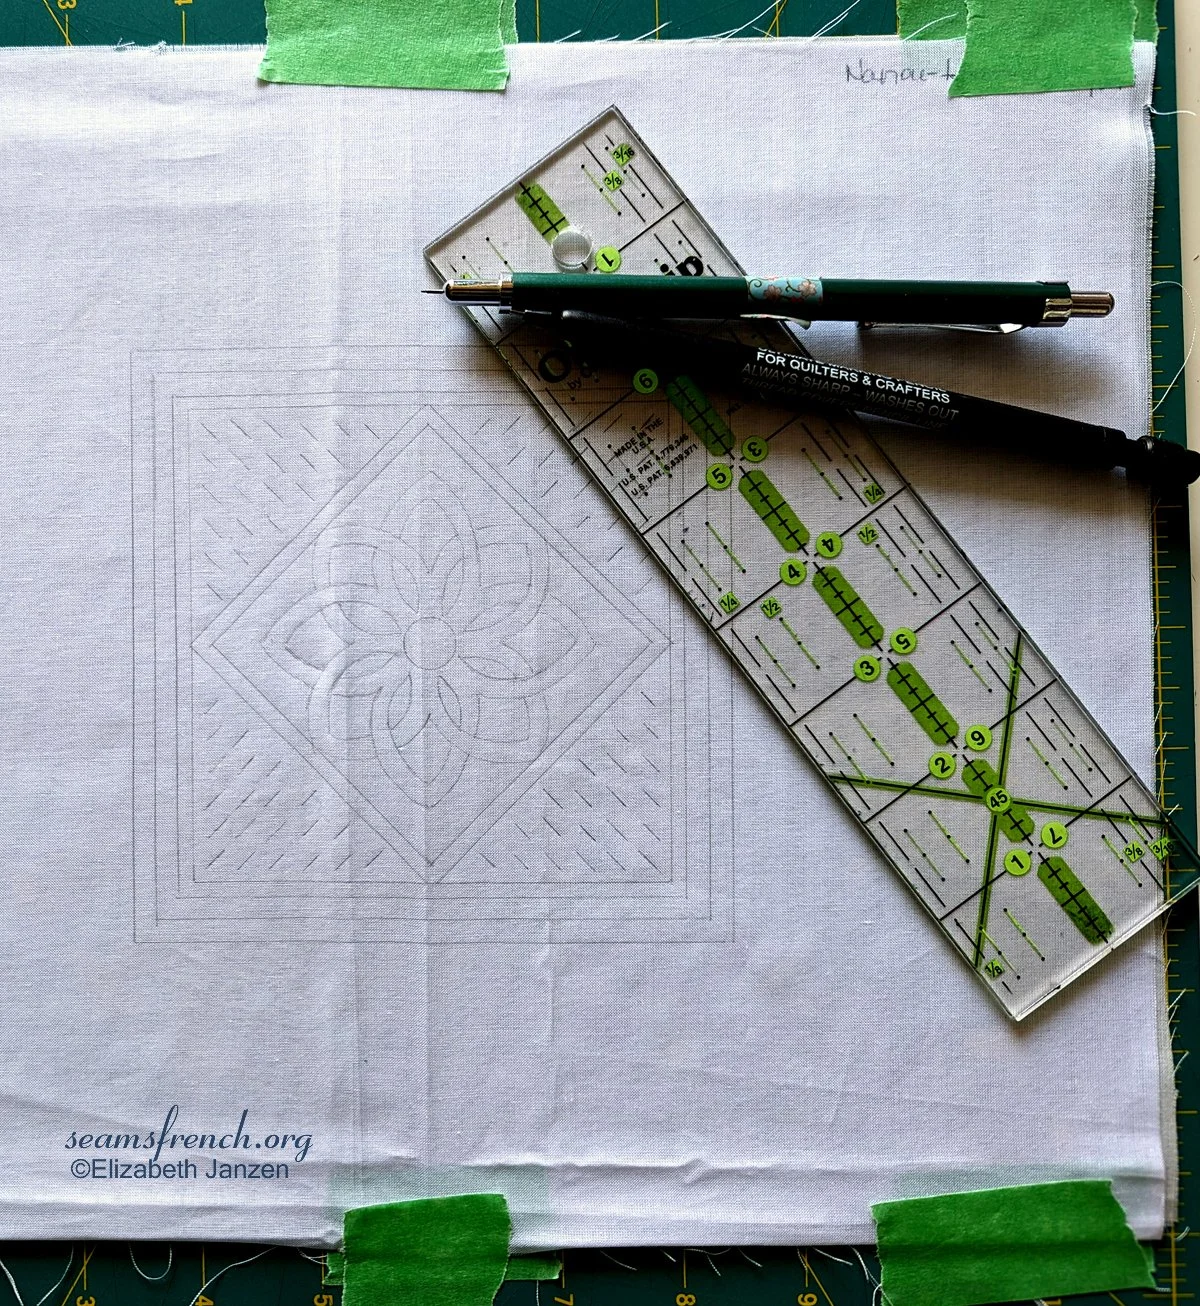
4. As accurately as possible, using a very fine HB mechanical pencil or wash‐out marker, trace the design onto the fabric. For drawing the channels, it helps to use a clear ruler with accurate, graduated markings. (ie: Omnigrid or similar).
B: Accuracy and clean, crisp lines are essential.
When tracing and basting, I prefer to tape my patterns and fabric onto a surface that I can rotate as I trace. If you happen to have a “Cut and Press” board or any rotary cutting mat, using the rotary cutting side of the board works very well, but any hard surface that can be rotated (like any rotary cutting mat) will also work. (See right)
Basting:
1. Secure the bottom piece of batiste, wrong side up, to a hard, flat surface. Center the printed or traced pattern piece on top, right side up, and tape securely into place.
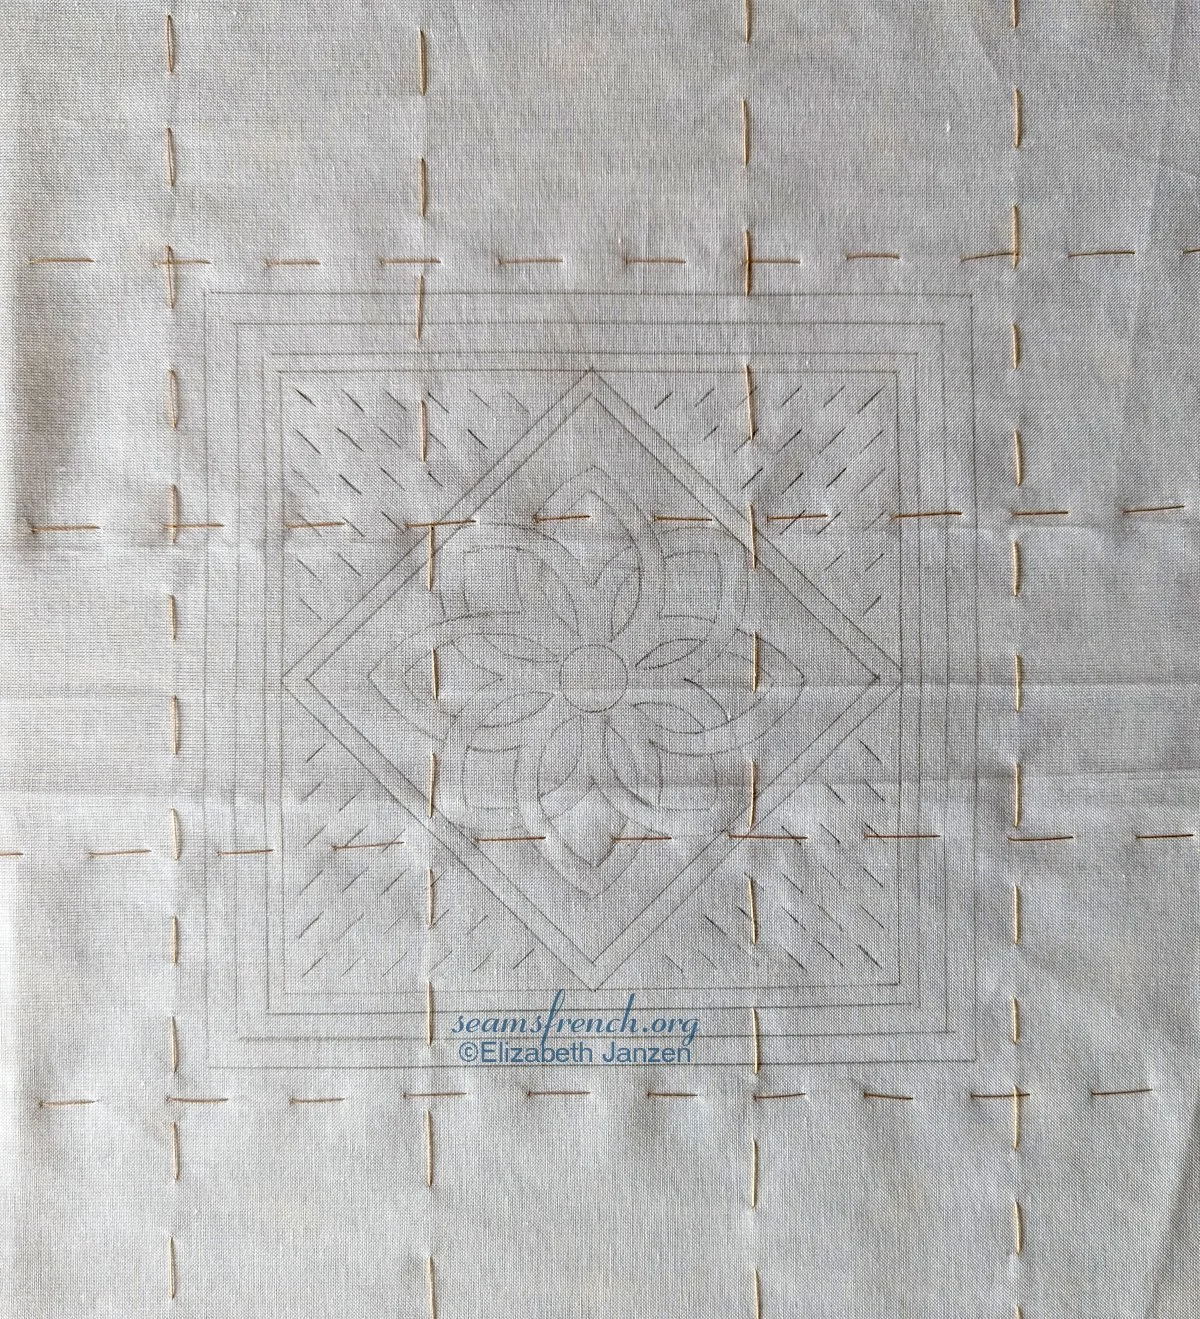
2. Starting in the middle, baste one row horizontally and one row vertically. Continue basting in a 2” grid, working from the middle rows towards the outer edges and alternating between horizontal and vertical rows.
3. Extend the basting to the edge of the fabric.
The pattern consists of 3 separate hearts. Stitching, embroidery and beading will all be used in the process. Although the basic technique is the same for all 3 hearts, each heart will come its own set of specific recommendations.
In the next post, we will start with Heart #1.
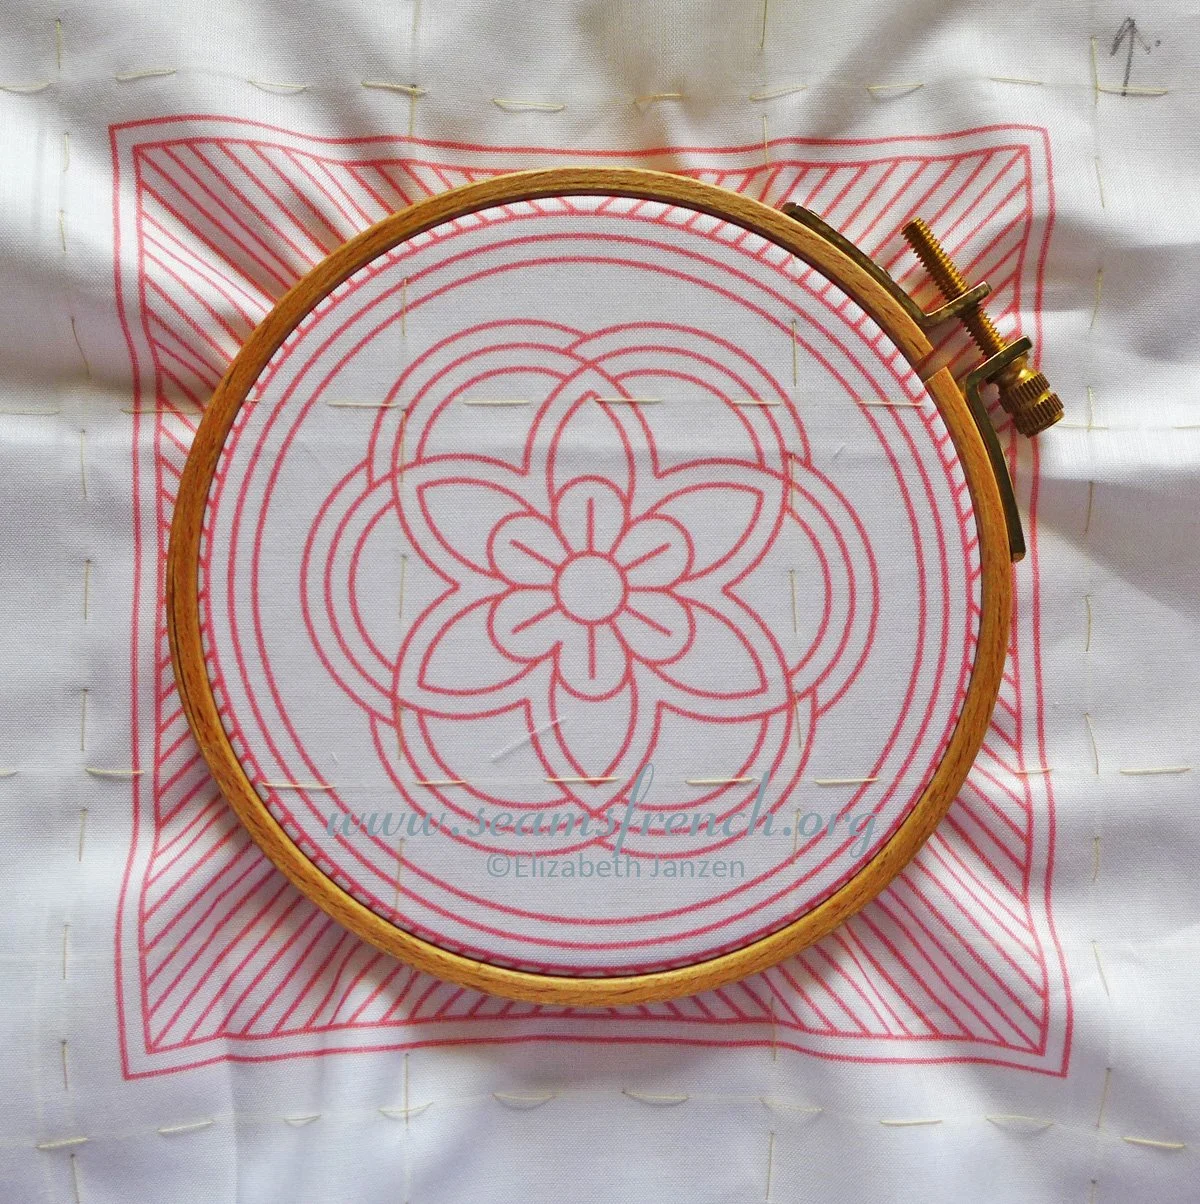
Prepare the hoop for stitching:
The project is placed into the hoop with the printed or traced side up. To keep the layers square and to prevent distortion, it is necessary to use a hoop. When placing the basted project into the hoop, it is helpful to attach the hoop on a hard, flat surface. The work should be taut and of equal tension in all directions. Adjust as necessary and avoid stretching disproportionately in any one direction. Never stretch on the bias.
NB: Using a smaller hoop while stitching allows for greater control.